Tuesday, May 29, 2012
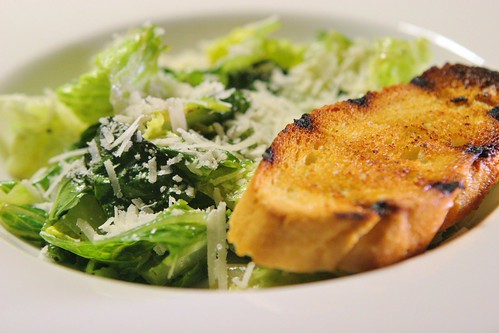
Grilled Caesar salad
Thursday, March 29, 2012
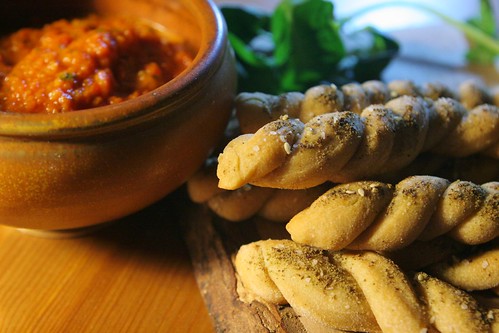
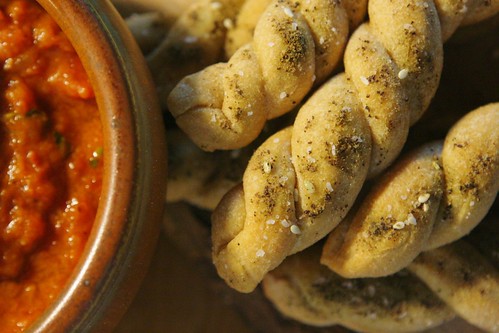
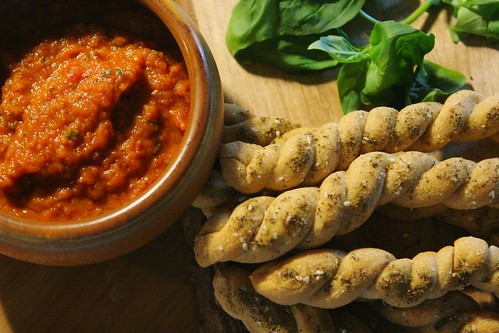
Za'atar breadsticks with Middle Eastern tomato sauce
Monday, January 9, 2012
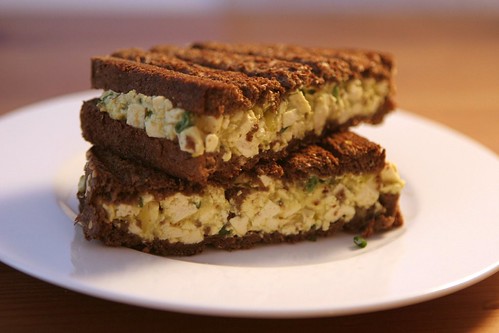
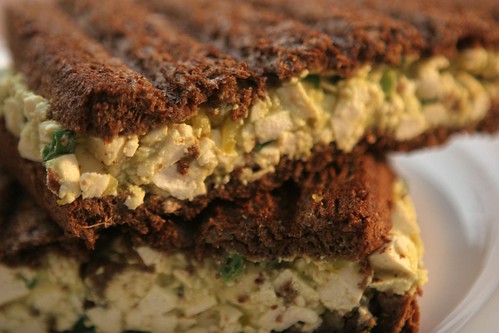
Tofu salad sandwiches
p.s. When you are reading this, I should be in Singapore! My research adviser has a lab there, so the trip is for work. Hopefully my thesis work will be in good shape and I'll have some free time to go eat lots of delicious food! I'm definitely thinking of the Top Chef finale that was in Singapore a couple years ago...(by the way, I wrote and scheduled this post before I left, so you aren't going to get any more details right now about what I've been doing or eating).
Sunday, November 20, 2011
Pumpkin stuffed with bread and cheese
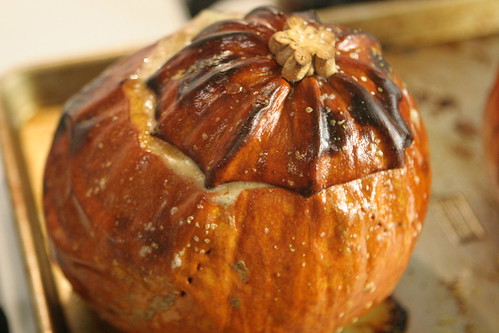
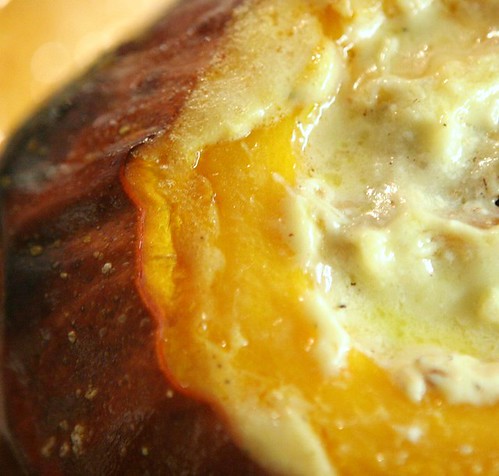
This dish would be an amazing choice for a vegetarian main dish for Thanksgiving. I feel a little bad telling you this now - first of all, you probably have your Thanksgiving menu planned, and second, sugar pumpkins are pretty hard to find this close to the holiday. I had to go to three different places yesterday (fighting my way through Thanksgiving grocery shoppers each time) to find them. But, even if you can't make it until next year, I want to tell you about this dish anyway, because it is awesome. The recipe is from Melissa Clark's In the Kitchen with A Good Appetite and Molly's recent post made me want to try it. I hosted a pumpkin & squash themed dinner party last night, and this was the perfect choice for a main course. It is pretty simple to prep, but nice enough to serve to guests. It comes out of the oven with pumpkin skin crackling and gooey cheese bubbling, and can be cut at the table. I'd say the Thanksgiving turkey has got some competition...
Sunday, August 21, 2011
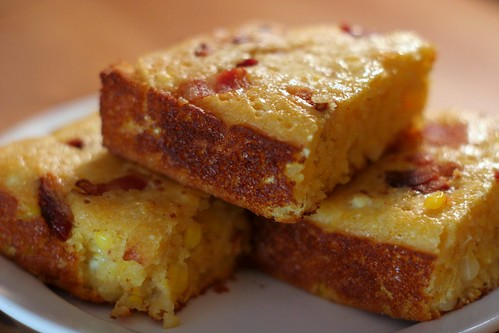
Corn bread with fresh corn and bacon
Monday, May 30, 2011
Kaiser rolls
A couple weekends ago, I was in the mood for some bread baking. I had roast beef on the menu for Sunday dinner, and anticipating lots of leftovers that would make delicious sandwiches, I decided to try making the Kaiser rolls from The Bread Baker's Apprentice. I had tons of fun making the bread - it is so satisfying to start with a pile of flour and then pull these out of the oven at the end. If you enjoy baking bread at all, you should definitely try these. There is nothing complicated about the recipe, but it does require planning ahead, since there is an overnight fermentation step. The rolls were fantastic and made wonderful sandwiches with our roast beef!
Tuesday, March 15, 2011
Whole wheat pita bread
I bought some halloumi cheese over the weekend, planning to grill it with some lemon and garlic and eat it with pita bread. But then I realized that we were all out of pita, so like any normal person would do, I decided to make some myself instead of going out to the store. Granted, the bread took close to 3 hours to make, while a grocery trip would have taken less than 30 minutes...but I spent most of the 3 hours watching TV, since most of the bread-making process is waiting for the dough to rise. And as a bonus, I got a little arm workout kneading the dough, which is better than the weight lifting that generally occurs only in my imagination.
I really enjoyed making this bread. The dough is smooth and easy to work with, and it's really fun watching the bread puff up in the oven. The pockets in pita are formed by the air that is trapped inside the bread - you don't actually have to form or cut the pockets. I thought that was super cool. Oh, and also, the pitas are delicious!
Monday, August 9, 2010
Panzanella
Panzanella is an Italian salad made with cubes of stale bread and fresh vegetables, usually tomatoes. The bread is softened up by the salad dressing and vegetable juices, and adds nice texture to the dish - this is a really great way to salvage old bread that is too stale to be eaten on its own. Although panzanella can be made with a number of different vegetables, I chose to keep it simple, and just used some lovely heirloom tomatoes and basil.
You'll want to use crusty bread, at least one day old, to make this. I used a baguette that was several days old, but a hearty whole grain loaf would have been even better. I like to jazz up the bread cubes a bit by toasting them garlic and thyme, an idea I got from Heidi's spring panzanella recipe. This add some nice flavors and also helps the bread keep just a bit of crunch even after it soaks in the dressing.
Monday, July 26, 2010
The simplest bread
 This is the simplest bread recipe I have baked: total of 4 ingredients - flour, yeast, salt, and water. I complicated things a bit by making it partially whole wheat, because I have a tendency to do that, but it's still pretty easy. You get two loaves out of this, so lots of payoff for the effort!
Simple wheat bread
Adapted from here on Joy The Baker.
Makes 2 loaves
2 cups bread flour
2 cups whole wheat flour
2 teaspoons active dry yeast
2 teaspoons salt
1 1/2 cups warm water
Reserve 1/4 cup of whole wheat flour, and place the remaining 3 3/4 cup flour in the bowl of a stand mixer fit with a paddle attachment. Add the salt and yeast, and pour in the warm water. Mix on low speed until the dough just comes together.
When the dough comes together in a mass, switch to the dough hook and mix on medium speed for 2 minutes. Dough should clear the sides but may stick to the bottom a bit. If the dough feels too sticky or too dry, add a bit more water or flour by the tablespoonful. After 2 minutes, let the dough rest for five minutes.
After the five minute rest, knead the dough again for 3 minutes on medium speed (I did this step for 5-6 minutes, just because the dough didn't look ready after 3). Place the dough on the counter and, using the 1/4 cup of whole wheat flour that was reserved in the beginning, hand knead the dough. You may not need to use the whole 1/4 cup, just knead until the dough feels firm and solid. Form dough into a smooth ball.
Place the dough in a lightly oiled bowl, and turn the dough over to coat the entire dough lightly in oil. Cover with plastic wrap and a kitchen towel and place in a warm spot to rest for 1 1/2 hours. The dough should double in size. Remove from the bowl, punch down and reform into a ball. Return to the bowl, cover and allow to rest for another 30 minutes.
Here's what mine looked like before and after the 1 1/2 hour rest:
After the second rest, place the dough on a lightly floured surface and cut into 2 equal pieces. Form each piece into a smooth, round ball, tucking any rough edges underneath the dough. Cover with a damp cloth and leave to rest on the lightly floured surface for about an hour.
During the resting period, preheat the oven to 450 degrees F. Place a baking rack in the lower third of the oven and leave either a baking stone or an upside down baking sheet in the oven to preheat as well. I didn't have a baking stone when I made this, so I used a cookie sheet.
Just before the loaves are set to go in the oven, slash the top of the loaves with 2 slashes, like in the picture below, using a sharp knife. Remove the hot baking sheet or stone from the oven. Carefully transfer the dough onto the baking sheet or stone and return to the oven. (Now that I think about it, if you are using a stone, it might be difficult to remove it from the oven because of its weight. In that case, it might be easier to pull out the oven rack and carefully put the loaves on the stone.)
After you put the bread in the oven, take 1/4 cup of water or a couple ice cubes, open the oven, quickly throw the water or ice onto the oven floor and immediately close the oven door. You want to keep the steam in the oven. Wait 2 minutes and repeat the process.
Bake loaves for 20-25 minutes. They should be golden brown and should measure 190-210 degrees F in the middle.
Let bread cool completely on a rack before eating. The crust is great the first day, and if you store it for longer, a light toast is nice.


